

Lesson 256: Safe Voice Practice: Low-Volume Opening Method
Duration:70 minutes
Topic Introduction (Overview):
When speaking makes you nervous, afraid of being noticed, or worried that your voice will get out of control, the "low-volume speaking method" is a gentle and safe training approach. This lesson will guide you to rediscover the basic experience of "being heard" without forcing yourself, exposing yourself, or increasing pressure. Low-volume speaking doesn't force you to speak loudly, but rather awakens your vocal cords in the lightest and gentlest way, allowing your body to gradually adapt to the transition from silence to vocalization.
You will learn how to produce monosyllables, slight breaths, short words, or half-sentences at extremely low volumes, allowing your voice to emerge as naturally as breathing, without the burden of speaking a complete sentence. This practice will help reduce your fear of being stared at as soon as your voice comes out and strengthen your sense of control over your voice.
The goal of this lesson is not to increase volume, but to help you practice speaking in a controlled, stop-and-go manner, allowing your voice to become a form of expression that can be interrupted and reduced at any time. You will gradually discover that your voice can be very soft, very gentle, and very soft, yet it still belongs to you. Speaking at a low volume is a return from silence to the gentlest starting point of expression.
Lesson 256: Safe Voice Practice: Low-Volume Speaking Method, Click to Listen to the Reading, View Content
In language recovery, speaking at a low volume is not a sign of inadequacy, but rather a highly safe and effective training method. Many people become tense quickly when trying to vocalize because their bodies misinterpret increased volume as a risk and trigger defenses. The core goal of the low-volume speaking method is not to make the sound audible, but to allow the body to re-experience that vocalization itself is safe. The first step is to understand that low volume is not suppression, but lowering the system's threshold; you are not forcing yourself to suppress it, but creating a practice zone for the nervous system that will not be triggered. The second step is to start with sounds that are almost entirely audible to yourself, such as soft breathy sounds, short vowels, or closed-mouth humming, allowing the vocal cords to participate but not bear the burden of propagation. The third step is to focus on exhalation rather than the sound; when exhalation is stable, the sound naturally follows it without becoming the main focus. The fourth step is to practice low-volume vocalization in different postures, such as saying a short word while sitting, standing, or walking, allowing the body to learn that the sound will not be out of control due to changes in posture. The fifth step is to incorporate real-life functions, such as whispering object names, confirmation phrases, or time cues at home, connecting the low-volume sound to daily life rather than a training exercise. The sixth step is to allow for volume fluctuations. If the sound becomes quieter or disappears at any moment, there's no need to correct it; simply continue exhaling to keep the practice continuous. The seventh step is to mark the end. After each practice session, perform a clear finishing action, such as swallowing water or gently closing your mouth, to remind your body that the vocalization is complete and safe. The significance of the low-volume open-mouth method lies in rebuilding the underlying trust between vocalization and safety. When the body repeatedly experiences that even when opening the mouth, it won't be pushed to the forefront, the volume will naturally increase in the future rather than being forced out.
▲ AI Interaction: Would you like to try the softest voice possible?
You don't need to speak in complete sentences or with a clear intonation. A soft single syllable, an almost inaudible breath, is also a form of speaking.
This lesson invites you to find "the slightest sound that won't make your body tense," allowing your expression to begin from a controllable and safe zone.
Your voice may be soft, but it still belongs to you.
Click the button below to explore with AI: What will be your first "safety voice"?
○ Safe Voice and Music-Guided Practice
Choose soft, continuous music without obvious drumbeats, and let your body sink into a stable rhythm. Surrounded by the music, try to produce very soft single notes, such as "hmm," "ah," or "oh," letting the sound flow gently from your breath.
The lighter the better, the softer the better.
Herbal Tea - Lily and Licorice Throat-Soothing Drink
Recommended drinks:Lily and Licorice Throat Soothing Drink
Recommended reasons:It soothes throat tension and nourishes vocal cords, making it easier and more natural to speak in low volumes.
practice:Steep 5g of lily bulbs and 2 slices of licorice root in hot water or simmer over low heat for 5 minutes.
○ Stable Dietary Therapy - Pumpkin Coconut Curry (ID256)
During low-volume vocal exercises, the body needs a gentle, soothing nourishment. The soft sweetness of pumpkin and the smooth texture of coconut milk can soothe the throat and overall nerve tension, making it suitable for consumption after practice to help the body reconnect vocalization with safety and comfort.
throat relaxation
Safety Practice
Open Recipe
◉ Indian Ayurvedic Dietary Therapy: Pumpkin and Coconut Milk Curry (ID 256)
Ayurveda believes that sweet taste is the core flavor that nourishes life tissues and calms turbulent emotions. Ripe red squash belongs to "earth energy," providing a sense of stability; coconut milk belongs to "cooling and moisturizing," calming internal heat. This dish does not use any spicy chili powder, but instead uses mild spices to bring out the natural flavors of the ingredients, making it a perfect dietary therapy for repairing damaged spleen and stomach and soothing anxious nerves.
Nourish the spleen and stomach Soothe emotions Repairing mucous membranes
I. Recommended Dietary Therapy and Reasons
Recommended dishes:Golden Pumpkin Coconut Curry
Recommended reasons:
1. Gastric mucosal repair agent:Pumpkin has a soft, tender texture and is rich in pectin; coconut milk contains lauric acid. This gentle combination can form a protective layer on the stomach lining, making it particularly suitable for relieving discomfort caused by gastritis, acid reflux, or stomach ulcers.
2. Emotional stabilizer:For people with a Vata (wind) constitution, anxiety is often accompanied by physical dryness and coldness. This dish provides high-quality oils and natural sugars, which can quickly calm a restless mind.
3. Easy to digest:Unlike heavy curries with lots of cream, this dish relies entirely on plant-based ingredients and includes fenugreek seeds (Methi) to aid digestion, so it won't burden a weak stomach.
2. Recipe and Method
Recipe (Serves 2):
- 300g of old pumpkin (red-skinned sweet pumpkin) (peeled and cut into large chunks)
- 1/2 cup thick coconut milk
- A handful of red beans or black-eyed peas (cooked, optional, to increase protein).
- Tadka (a type of spice):
– 1 tablespoon coconut oil
– 1/2 teaspoon black mustard seeds
– 1/4 teaspoon fenugreek seeds (perfect with pumpkin, helps with bloating)
- 1 curry leaf
– 1 dried red chili pepper (only for aroma, not eaten) - 1/4 teaspoon turmeric powder
- sea salt (appropriate amount)
practice:
- Boiled pumpkin:Place the pumpkin chunks in a pot and add enough water (or diluted coconut milk) to just cover them. Add turmeric powder and salt.
- Simmer until tender:Cook over medium heat for 10–15 minutes, until the pumpkin is very soft and can be easily mashed with the back of a spoon (leaving some chunks will improve the texture). If there is too much water, turn up the heat to reduce the sauce, leaving only a little broth.
- Blended with coconut milk:Turn the heat to the lowest setting and pour in the thick coconut milk (and cooked beans). Gently stir until the broth turns an appealing creamy yellow color.Notice:Do not boil the coconut milk over high heat after pouring it in; just heat it until it is warm, otherwise the coconut milk will separate into oil and water.
- Making spice oil (key):In a separate small saucepan, heat the coconut oil. Add the mustard seeds (after they pop), fenugreek seeds, dried chilies, and curry leaves in that order. Fry until fragrant and aromatic.
- Pouring oil:Pour the hot spiced oil over the cooked pumpkin curry, immediately cover and simmer for 5 minutes to lock in the aroma.
3. Small rituals for body and mind
Yellow Chakra:The orange-yellow color of pumpkin corresponds to the "navel chakra" (ego chakra) in the human body. As you stir this pot of golden curry, imagine the warm yellow light repairing your digestive system, bringing you confidence and satisfaction.
Treat others gently:Pumpkin is very delicate after cooking, so be gentle when stirring it. This reminds us to treat our wounded hearts or bodies with the same tenderness we show to this pumpkin.
4. Dietary Therapy Experience Record
- Pay attention to the smooth feeling you get in your throat and esophagus when you take the first sip of soup.
- Observe how your stomach feels after eating. Does it feel warm and comfortable, and is there no bloating or heartburn?
- Record your sleep quality at night; the magnesium in coconut milk and the tryptophan in pumpkin can help improve sleep depth.
V. Instructional Videos (approximately 3–5 minutes)
◉ Video Title:Healing dish: Pumpkin and coconut milk soup with only three ingredients
6. Precautions
- Fenugreek seeds (Methi) are essential:Although used in small quantities, it is key to cooking pumpkin. Pumpkin is prone to producing gas, and fenugreek seeds perfectly counteract this side effect, bringing a unique caramelized nutty aroma.
- Do not boil coconut milk:After adding the concentrated coconut milk in the final step, heat it only over low heat until lukewarm. Once it boils, the coconut milk will turn into a flocculent state; although the taste will remain the same, the texture will become coarser.
- Sweet and salty balance:If the pumpkin isn't sweet enough, you can add a small piece of brown sugar (Jaggery) to enhance the flavor, which is believed in Ayurveda to boost energy (Prana).
hint:This dish has a rich broth, making it perfect for pouring over hot white rice, or for drinking directly from the broth with a spoon.
○ Modern Calligraphy - Lesson 256 Writing Exercises
In-depth analysis:
The low-volume opening method corresponds to the practice of lines with extremely light pressure in modern art calligraphy.
When the pressure is low enough, the lines will not break but will not encroach on the paper.
This state between appearing and not appearing is precisely the psychological position for speaking out safely.
What you are practicing in your writing is allowing something to exist without taking up space.
When the brain repeatedly experiences a light and controllable sense of presence on paper, the tension in vocalizing in reality will also decrease.
Writing Techniques (Low Volume Version):
- Begin with a very light touch:Make the pen tip touch the paper as if it were touching air.
- Thin and long lines:Do not strive for fullness; maintain white space.
- Uninterrupted writing:Replace force with continuity.
- Slow down the pace:Make every centimeter feel like it can breathe.
- A gentle finish:Gradually lift off the paper rather than stop abruptly.
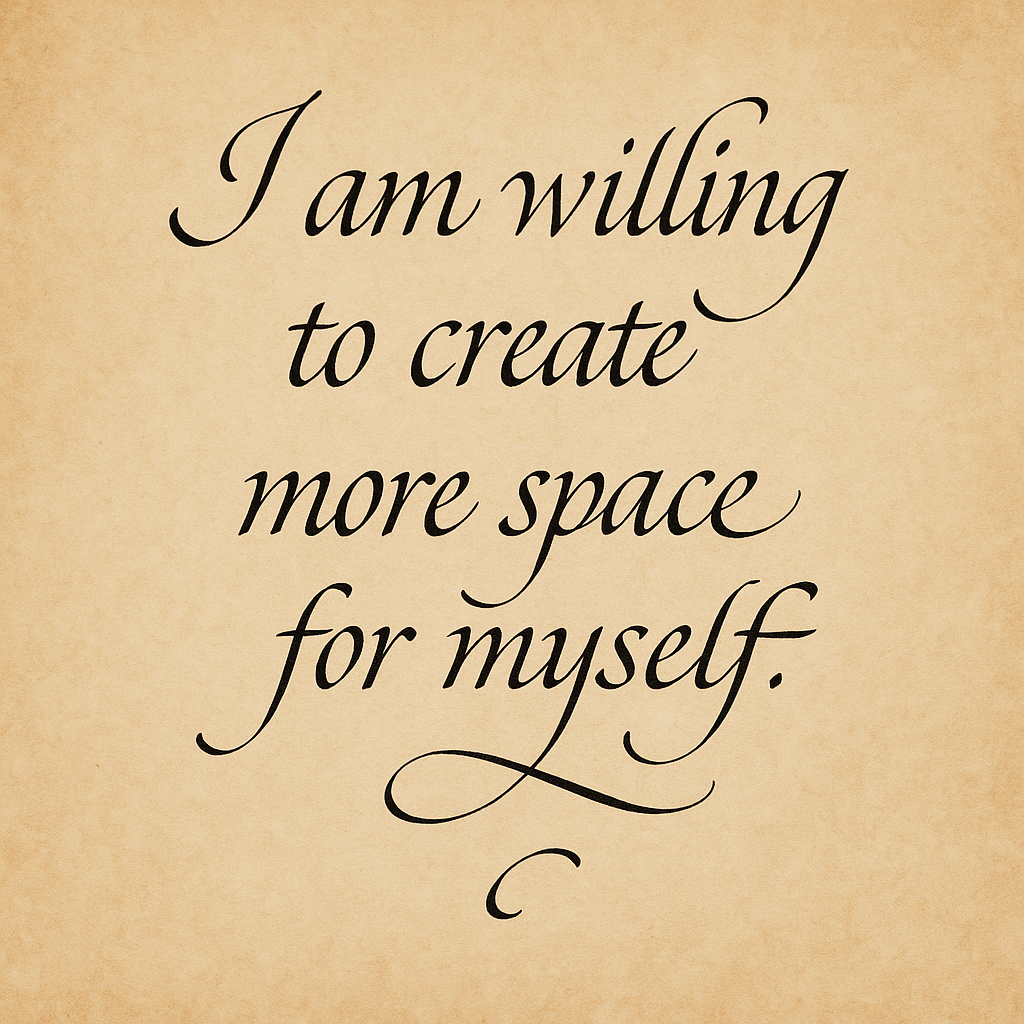
Image Healing: Guided Mandala Viewing - Lesson 256
Choose a mandala with soft colors and delicate lines.
Let your gaze slowly move along the thinnest lines.
Do not follow the overall shape, but only feel the subtle continuity.
Mandala drawing is not about drawing anything, but about observing. You practice what you see in the act of observing, and it is subtle and completely safe.
The mandala theme of this lesson is the ring of soft voices, symbolizing the rebuilding of confidence in vocalization at the lowest possible volume.
◉ One gaze is sufficient; no repetition is required.

Lesson 256: Safe Voice and Drawing Guidance
Purpose: To help you see your own "light of voice" being awakened.
Steps: Draw three dots that gradually lighten in color, representing the progression from silence to a soft voice to a gentle voice. Color each dot with a different color and observe the intensity of your emotions when the sound appears.
Please log in before submitting your drawings and feelings.
○ 256. Safe Voice & Log Guidance
① What is the smallest sound I'm willing to try to make today?
② How does the body react to this sound: tense? relaxed? or acceptable?
③ Which volume makes me feel safest?
④ What situations trigger "sound phobia"?
⑤ Write a sentence of encouragement: A soft voice is still a voice; a quiet voice deserves to be heard.
⑥ Write a thank you note: Thank you for letting your voice be heard again.
Please log in to use.
Your voice doesn't need to be loud or forceful. A softer, gentler voice can also bring you back to the path of expression.